


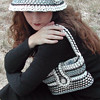


Been working on the long overdue Tabistry Corset Tutorial, but got distracted by an idea to try shaping a new corset with something like gussets, or inserts. I promise, I am trying to get the tutorial done. Hey, at least this way it may come with another pattern option. :)
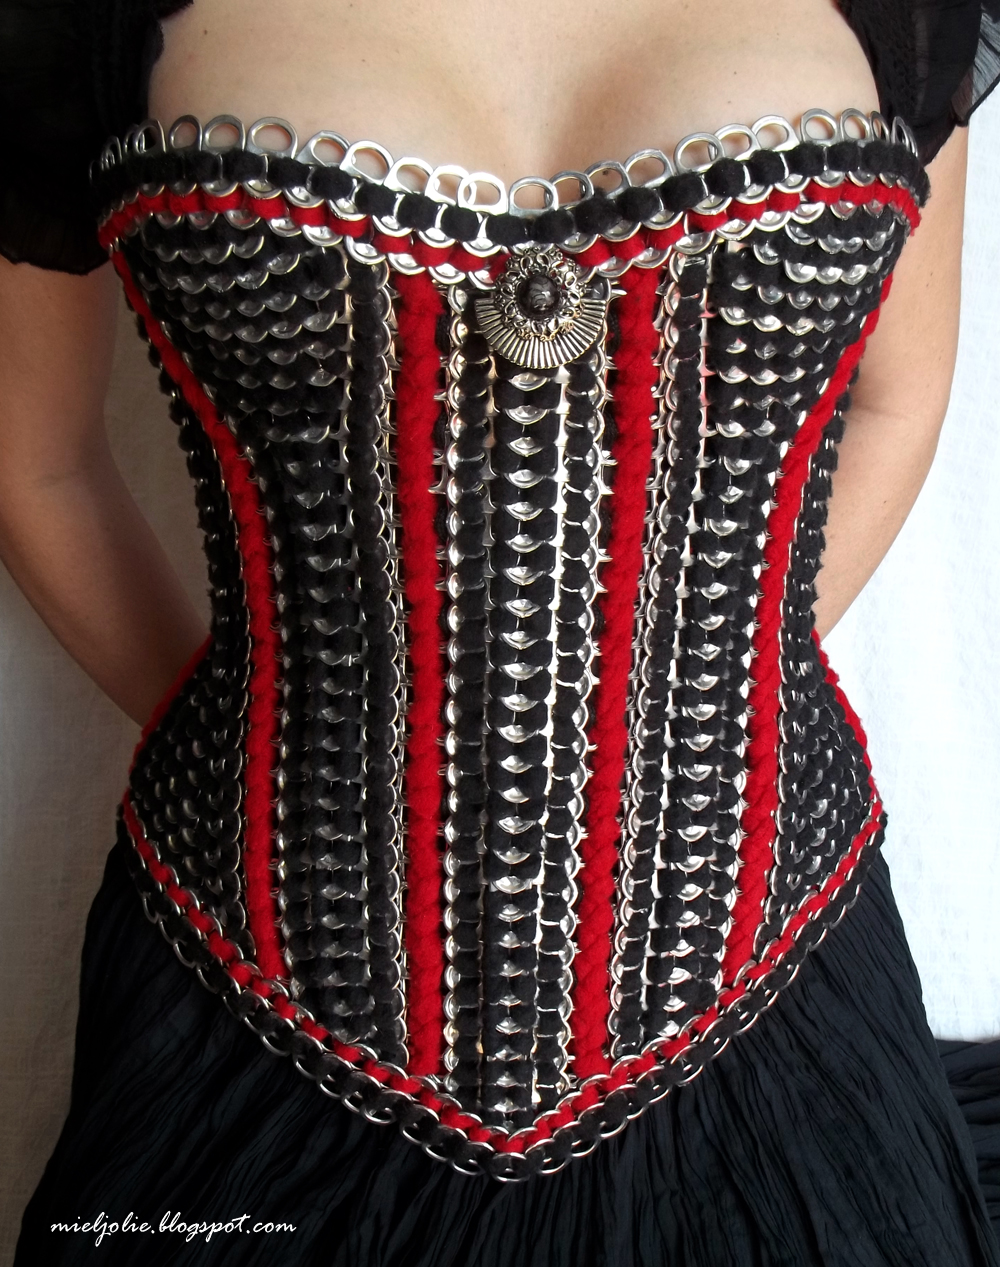
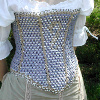
Not sure why I keep trying new styles of corsets/bodices. It's just a fun challenge for me. And, I like wearing them. (Kinda like a portable hug.) ;) I remember someone posted that essentially there isn't much difference in corsets and that all can tab corsets will look the same. I think that's a bunch of poo. And, I'd like to thumb my nose at that comment. On my previous corsets I've posted about, I'd always shaped the panels flat and joined to achieve a curve. Doing this, it was hard to alter the corset once it was woven. So, this time I tried just making a bunch of vertical strips, kinda like on the last tabistry top hat. I started joining the strips at the waist being the narrowest part. Then added in what was needed at the bust and hips. So, much easier to alter if you don't get it just right. As you can probably see, this can allow for a more drastic transition in width, too. And, I can add or subtract from the vertical strips to get the right length all the way around. Plus, it gives a bit more support for the bust, now that I can actually shape it more like a cup. Though, this could easily be made into an underbust, as well.

You can't see it, but I've got a removable wooden paintstick "busk" down the front to keep it stiffer. It really wasn't necessary, and I may not actually wear it, but it does prohibit me from slouching. That center decoration in front was just an odd earring I found. I was going to tie a ribbon bow there.

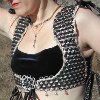
I laced it with two (actually four) laces starting at the center back. I think this is called "bunny ears"? It makes the corset stay tighter at the center to help the hourglass-shape. Oh, and sorry, felt I had to "photoshop" this last pic of the back. I only had bright neon orange shoelaces to try it on with. So, I used some magic to make them a quick red to match. Just wish I had these red laces. When I wear it on the for an upcoming event, I will probably replace this with black ribbon.
I'm really pleased with the way this one turned out. It's a great fit and easier to make/alter. Can't wait to wear this to a steampunk event in March! The only negative side to it was the number of messy looking ends to tie off on the inside, which I could have reduced if I'd put a little forethought into it. Guess I will never be completely happy. I still want to try some other styles of corset in the distant future, but I will try not to let them distract me from getting the tutorial finished. Until then, be can-TAB-ulous!!

